How to Starch a Ruff, part II
part I--part III--part IV
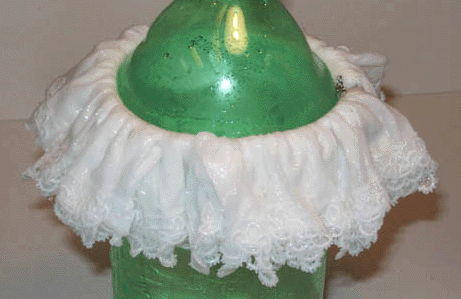
I then tied the ruff around the two-liter bottle, which is roughly neck-sized. It is important to starch the ruff on a form that is nearly the same size as the neck on which it will be worn, as this will govern the proportions of the finished figure-eights.

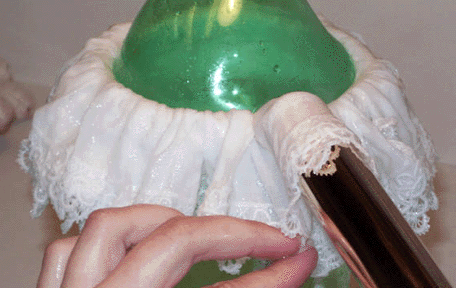
For the next step I bought a round-ended curling iron, by which I mean one that has a domed metal end rather than a flat plastic one. These are not common, but they can be found at specialty shops like Sally Beauty Supply and also online. The one I have is a 1-inch barrel "Gold n Hot" which has the very useful feature of adjustable heat settings. Disclaimer: no affiliation, YMMV, don't burn yourself please--these get very hot! I removed the spring-clamp (that bit that holds your hair to the iron) by removing the screws holding it in place. This is not absolutely necessary, but it makes it easier to get smooth curves in your figure-eights.
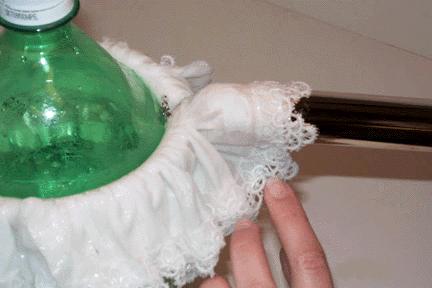
I set the top halves of the figure-eights first, going all the way around the ruff. I used the curling iron as a goffering iron, setting the top half of each figure-eight by inserting the heated iron all the way to the gathers, wrapping the fabric smoothly around the iron, and waiting for the starch to dry. I found that the process is faster when you apply heat from the outside with a hair dryer while holding the iron on the inside. If the iron is too hot, it will stick to the edges of the ruff before you can get it all the way to the gathers. If you have an iron that gets this hot, it will have a temperature gauge that you can turn down.


Try to get the iron as close to the gathers as possible, spreading and smoothing the fullness over the iron.
Click here to go to Next Page